DOCS / TUTORIALS
Put your bookcase in a room
In Your first bookcase, you made the bookcase 800 mm wide to fit a gap. In this tutorial, the gap is in a study: 850 mm of wall between the left corner and the window. You make the study, put your bookcase in the gap and see if it fits. Then you give the room colours, walk through it and save a picture of it.
You need about 15 minutes. You need the file Bookcase.kerf that you downloaded at the end of Your first bookcase.
This tutorial uses the UK region with sizes in mm.
Make the room#
The room shows the bookcase at its real size beside the walls, the window and the floor.
- Click File.
- Move the pointer to New.
- Click Room….
- In Name, type
Study. - Keep the default sizes: 4000 mm wide, 3500 mm long, a 2400 mm ceiling and 100 mm walls.
- Click Create.
- If Region in the Properties panel does not show UK, select UK.
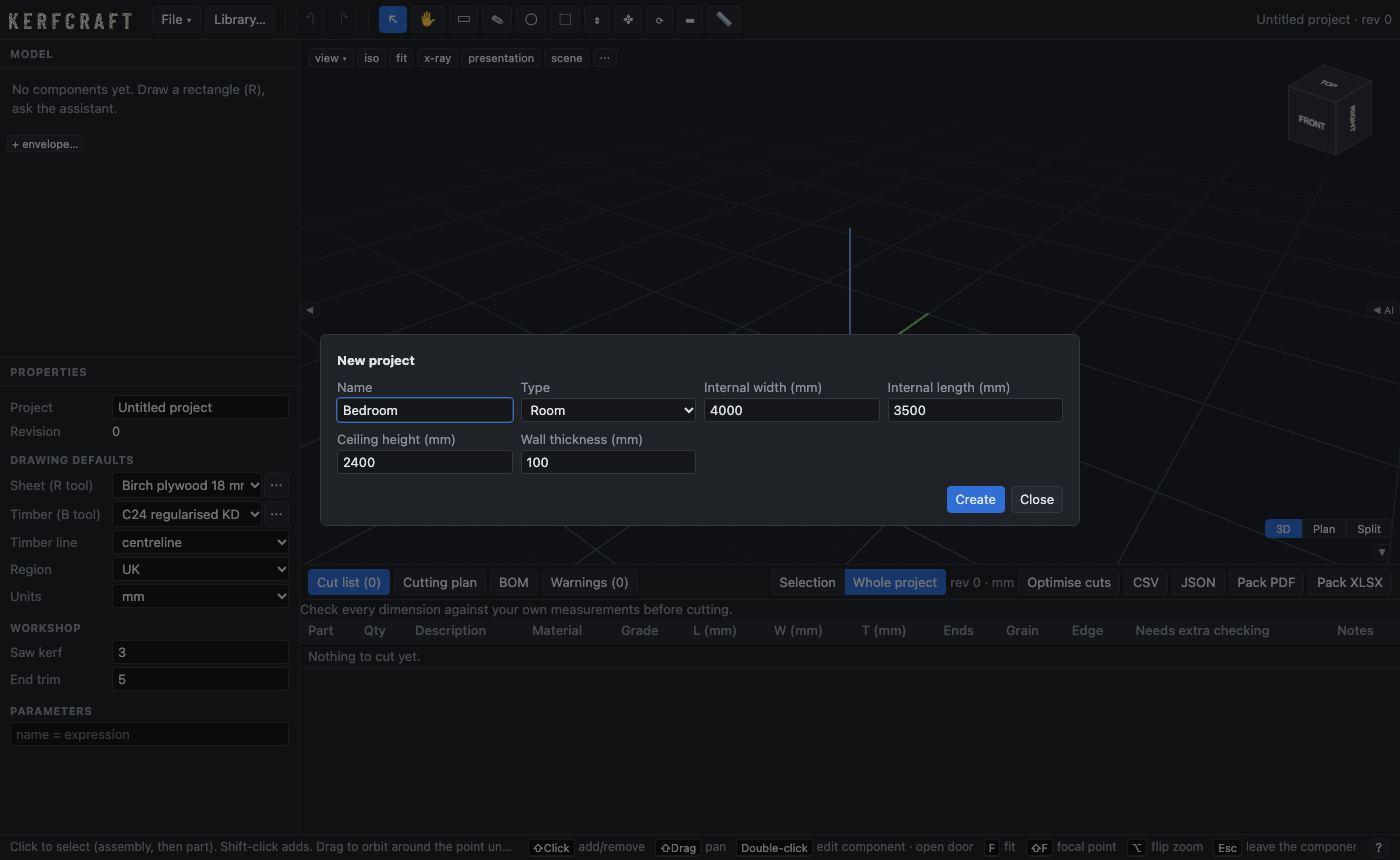
The 3D view shows a room with four walls. The Model panel shows Study.
Add the window#
Add the window before the bookcase. The collision check then tells you if the bookcase is in front of it.
- Click ▸ next to Study in the Model panel.
- Click North wall (back).
- In the Properties panel, at Openings, click Door or window….
- At Kind, select Window.
- In Width, type
1200. - At From, select Left.
- In Distance, type
850. - Click Add.
The back wall now has a window 1200 mm wide. Between the left corner and the window, there is 850 mm of wall. Left and right are as you see the wall from inside the room.
Insert your bookcase#
You do not draw the bookcase again. You insert the file from the first tutorial, with its parameters and its cut list.
- Click File.
- Click Insert from file….
- Click the file button and select
Bookcase.kerf. - Read the line below the button. It shows "Bookcase" is inserted into this project.
- Click Insert.
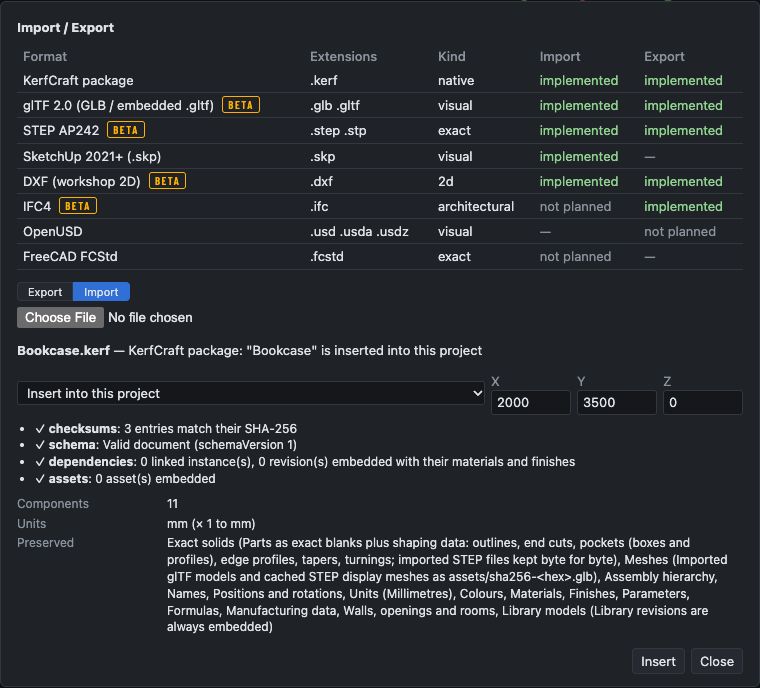
The Model panel shows Bookcase below Study. The cut list is the same as in the first tutorial. Top, Bottom are 764 mm long, and the Kick board is 764 × 70 mm.
Put the bookcase against the wall#
The bookcase is 800 mm wide and the space is 850 mm. An offset of 25 mm from the corner leaves 25 mm on each side.
- Right-click Bookcase in the Model panel.
- Click Place against wall….
- At Wall, select Study · North wall (back) (4000 mm).
- At From, select Left.
- In Offset, type
25. - Click Place.
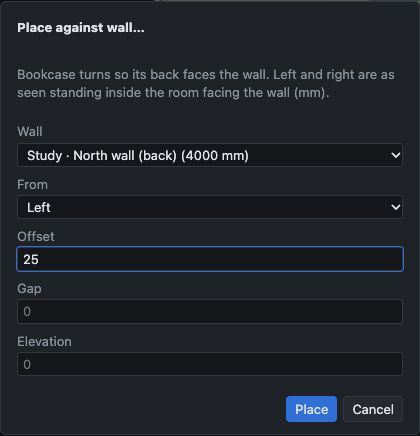
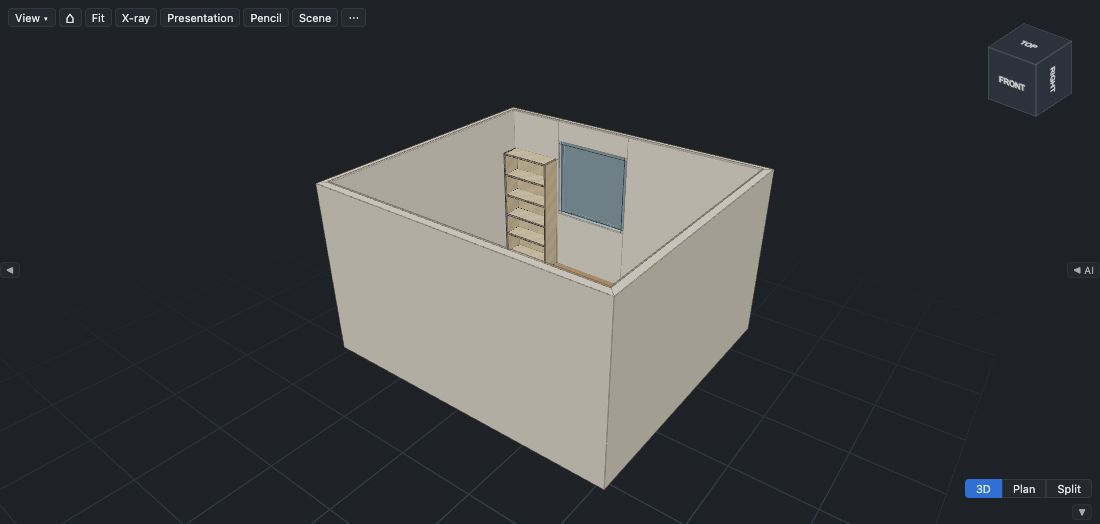
The back of the bookcase turns to face the wall. The bookcase stands between the left corner and the window.
Now see if it fits:
- Right-click Bookcase in the Model panel.
- Click Check collisions….
- Click Check.
The form shows that there are no collisions: the bookcase fits. If the bookcase is in front of the window, the form shows "Bookcase stands in front of Window above its sill".
- Click Close.
Apply finishes#
Finishes show the bookcase against the colours of the room. They do not change the cut list.
- Click Study in the Model panel.
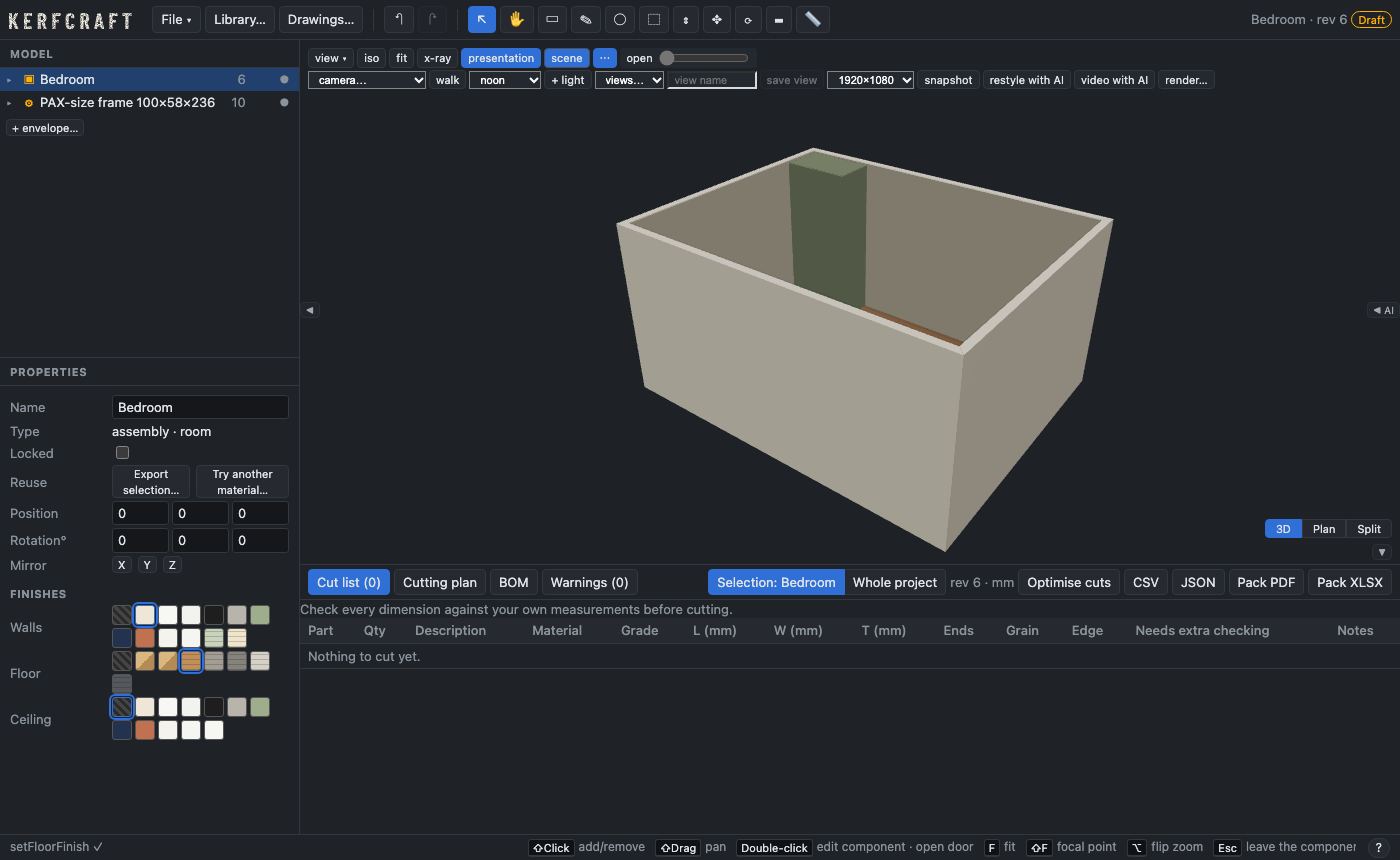
- In Finishes in the Properties panel, click Warm off-white (matt) in the Walls row. Hover over a swatch to see its name.
- Click Oak boards in the Floor row.
- Click Ceiling white (matt) in the Ceiling row.
The walls are off-white, the floor has oak boards and the ceiling is white.
Walk through the room#
A walk at eye level shows how tall the bookcase is next to the window.
- Click Presentation above the view. The grid and the outlines go away.
- Click Scene. A second row of buttons opens.
- Click Walk.
The room has no door, so you start at the East wall (right), the wall farthest from the bookcase. Your eye height is 1600 mm, and you look at the bookcase.
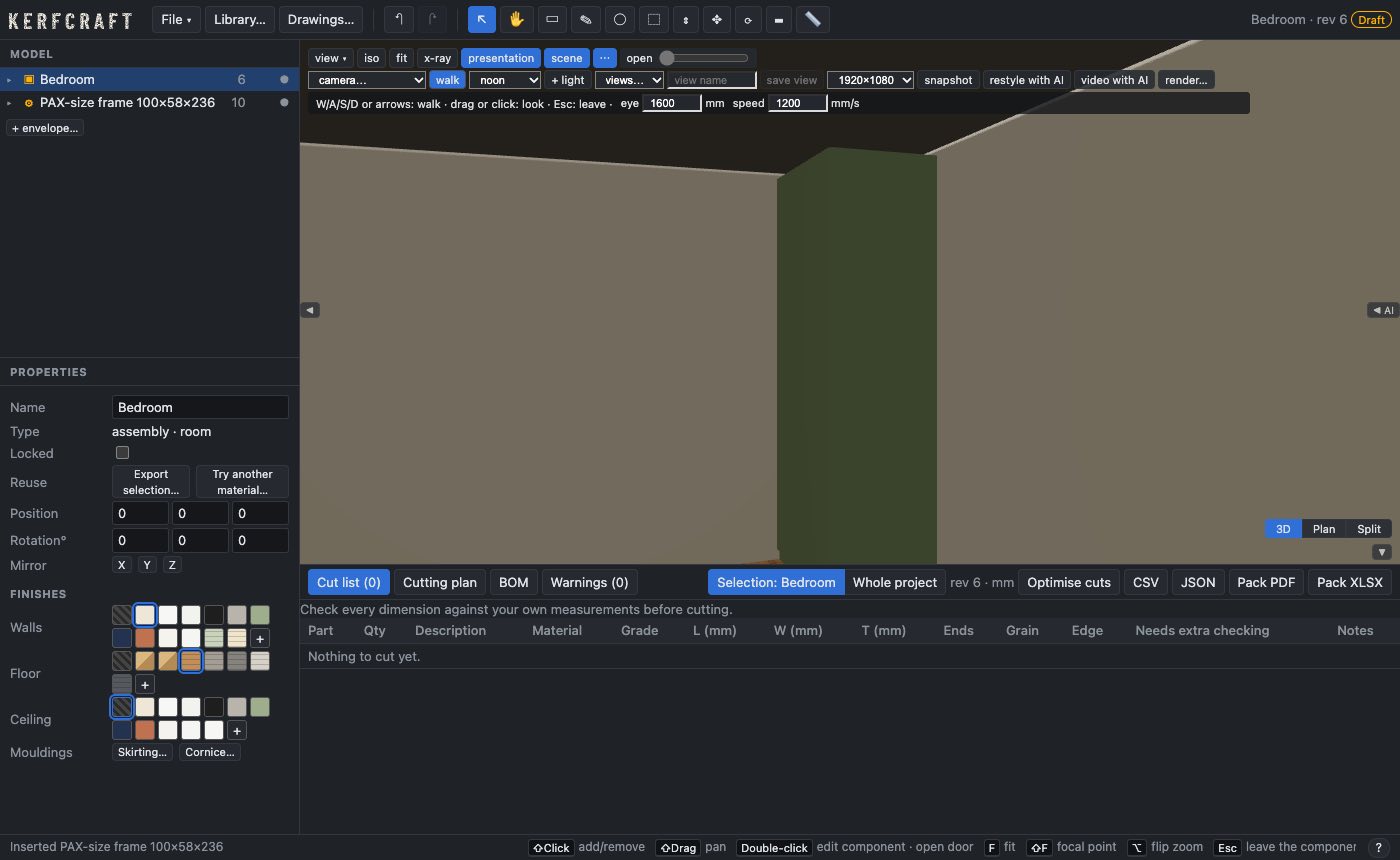
W, A, S and D, or the arrow keys, move you. Drag to look around.
Take a snapshot#
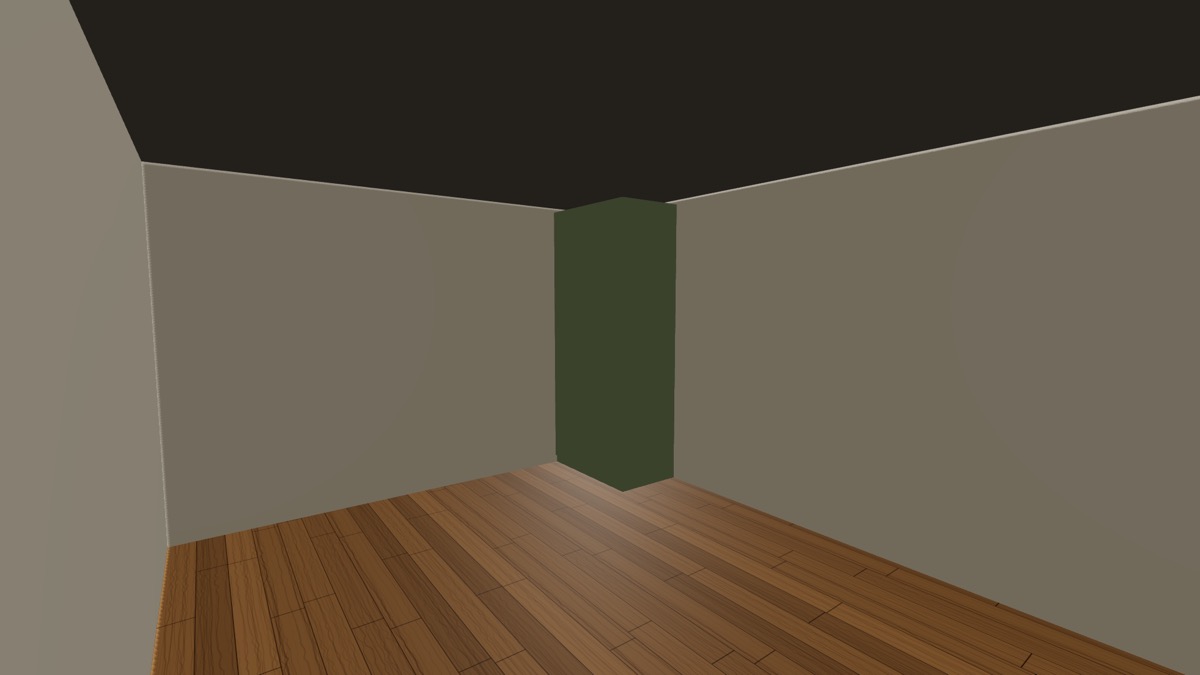
A snapshot is a picture that you can show to the person who uses the room.
- Press Esc to stop the walkthrough.
- In Camera…, select south-east corner.
- Click Snapshot.
Your browser downloads a 1920 × 1080 PNG file with a name like Study-rev6-1920x1080.png. To change the size, select a different size next to Snapshot first.
Save the project#
- Click File.
- Click Save….
- Click Save.
What you learned#
- A room project starts with walls, a floor and a ceiling.
- Insert from file… puts a design from another project into this one, with its cut list.
- Place against wall… puts furniture against a wall at an offset from a corner.
- Check collisions… tells you if furniture hits a wall, a window or other furniture.
- Finishes change only how the model looks.
- Scene has the walkthrough, the camera positions and the snapshot.
Next, build a workbench from timber in Draw a workbench.