DOCS / HOW-TO GUIDES / FINISHES AND PICTURES
Make pictures of your design
Snapshots, renders and pencil sketches are made on your computer and cost no AI credit. They change only the picture, not the model or the cut list.
Point the camera#
Most of the picture controls are in the scene bar. Click Scene above the 3D view to open it.
- In a room, open Camera… and select a corner, a door or focus selection.
- For any design, use View ▾ for the front, side or top, or ⌂ for the whole design at an angle.
- To turn the view about one part, press Shift+F and click the part. Walls between the camera and the part are cut away.
To keep a view for later, type a name in View name and click Save view. The project keeps the camera, the light and the open doors and drawers. Select it again from Views….
Save a snapshot#
- In the scene bar, select a size, for example 1920×1080.
- Click Snapshot.
Your browser downloads a PNG with no grid, axes or outlines.
Make a photoreal render#
A render shows bounced light, soft shadows, glass and reflections. It takes from some seconds to some minutes.
- In the scene bar, click Render….
- Select the size and the quality. good is enough for most pictures.
- Click Render.
- When it is done, click Save PNG.
To blur the background, select the part to focus on first, then tick Focus.
Draw a pencil sketch#
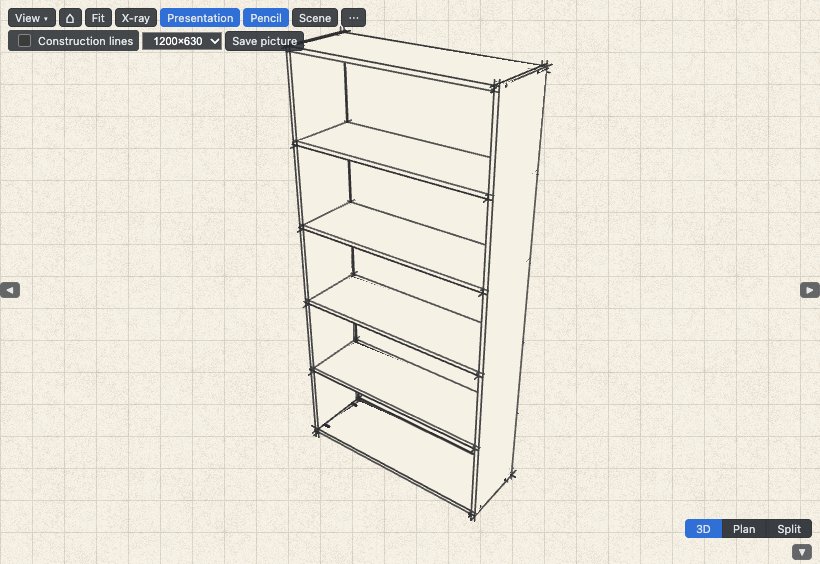
- Click Pencil above the 3D view.
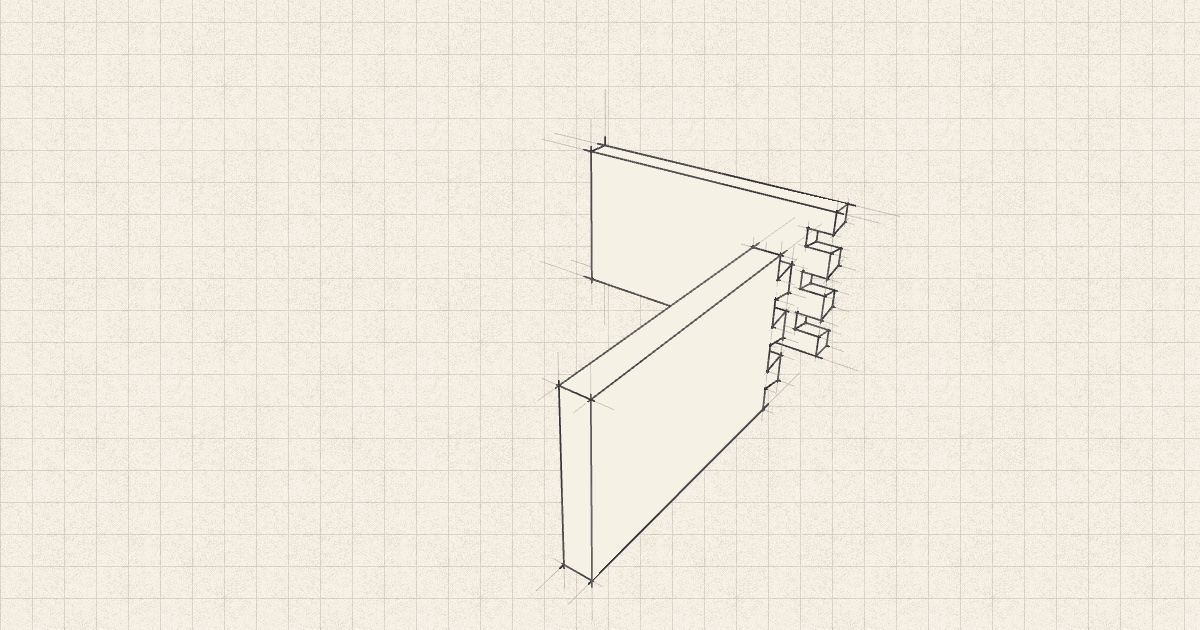
- If you want faint lines that run past each edge, tick Construction lines.
- Click Save picture.
The default size, 1200 × 630, is the size of a share card. Click Pencil again to go back to the normal view.
Walk through a room and change the light#
- In the scene bar, click Walk.
- Move with W, A, S and D or the arrow keys, and drag to look round.
- Press Esc to stop.
You start at the first door, at an eye height of 1600 mm. Walk shows only when the project has a room.
To change the light, select morning, noon, evening or overcast in the daylight list. To add a ceiling light, click + Light, then set its Colour K and Intensity in Properties.