DOCS / TUTORIALS
Draw a workbench
In this tutorial, you draw a workbench 1800 mm long, 600 mm deep and 900 mm high. It has a top of 18 mm plywood and six legs. You learn the drawing tools, the measurements box, axis locks, copies and arrays, and the tape measure.
You need about 20 minutes. Do Your first bookcase first.
This tutorial uses the UK region with sizes in mm. In other regions, the default sheet and timber have different sizes, so the numbers are different.
Start a new project#
- Click File.
- Move the pointer to New.
- Click Furniture design….
- In Name, type
Workbench. - Click Create.
- If Region in the Properties panel does not show UK, select UK.
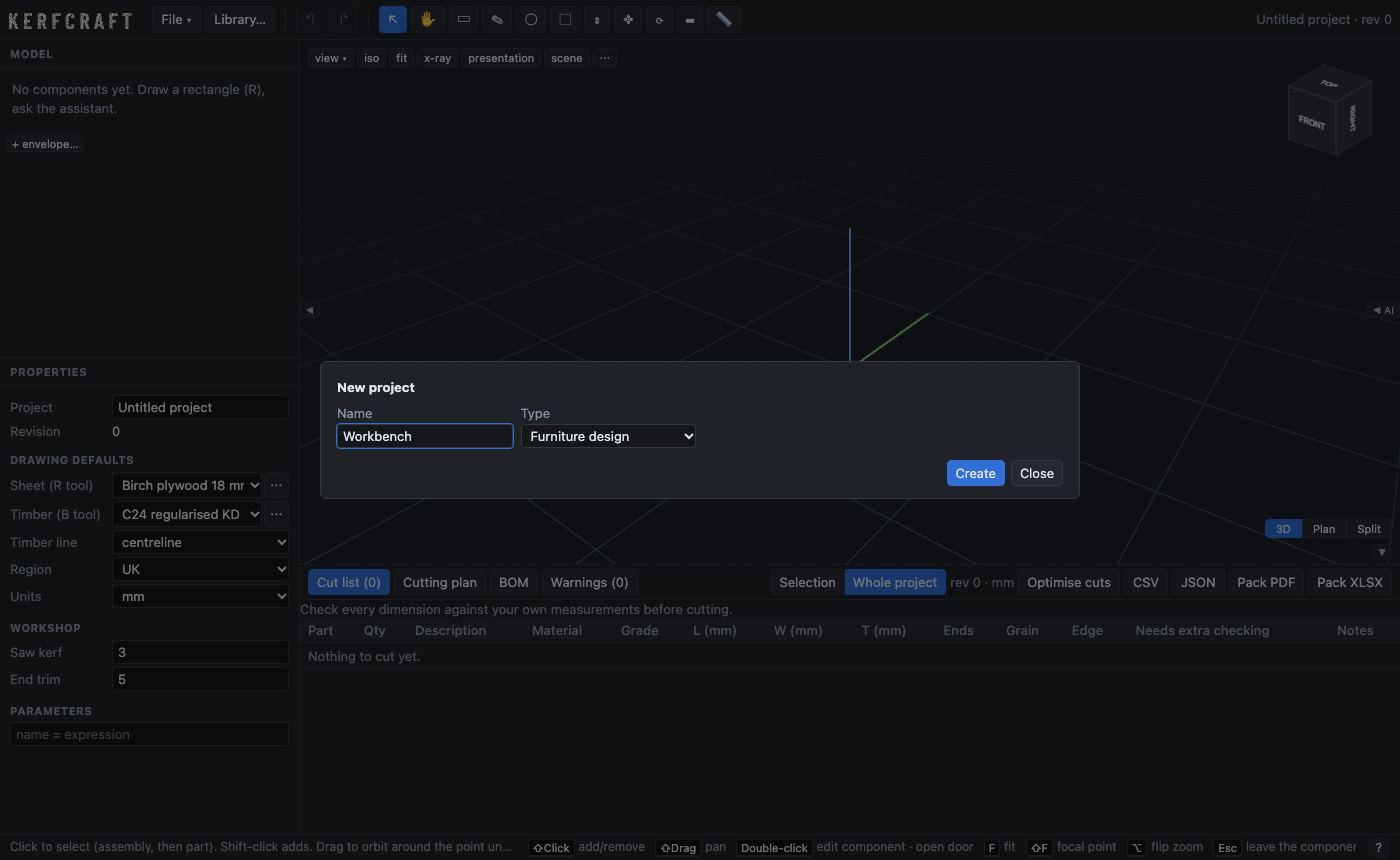
The 3D view is empty. The red, green and blue lines are the X, Y and Z axes. The point where they meet is the origin.
Draw the top#
You draw a panel with the Rectangle tool. You type the sizes in the measurements box at the bottom right of the window.
- Press R to select the Rectangle tool.
- Click the origin.
- Type
1700,600. The values go into the measurements box. - Press Enter.
- Move the pointer up.
- Type
18and press Enter.
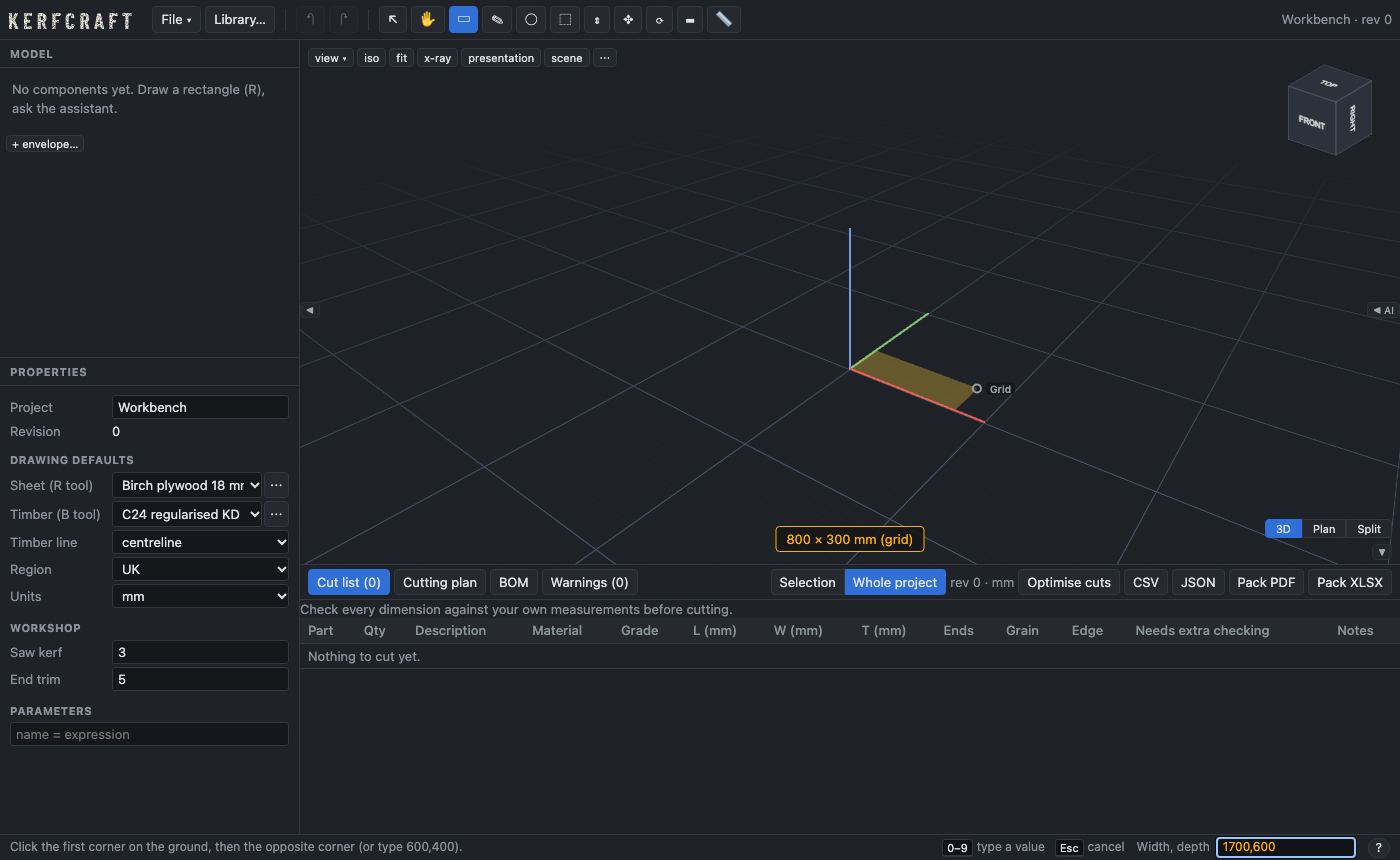
A panel 1700 × 600 × 18 mm is on the ground. The cut list shows one part, Panel, in the sheet material of Sheet (R tool).
Give the panel a name:
- In the Properties panel, double-click Panel in Name.
- Type
Topand press Enter.
Make the top longer with Push/Pull#
The top must be 1800 mm long. You push the end face out by 100 mm.
- Press P to select the Push/Pull tool.
- Move the pointer over the right end face of the top. The face is thin, so zoom in with the mouse wheel if necessary.
- Type
100and press Enter.
The top is now 1800 mm long. The cut list shows 1800 in the L column.
Lift the top with an axis lock#
The top must sit on legs 882 mm high, so its upper face is at 900 mm. You move it up along the blue Z axis.
- Press M to select the Move tool.
- Click the top.
- Move the pointer up.
- Press Z to lock the movement to the blue axis.
- Type
882and press Enter.
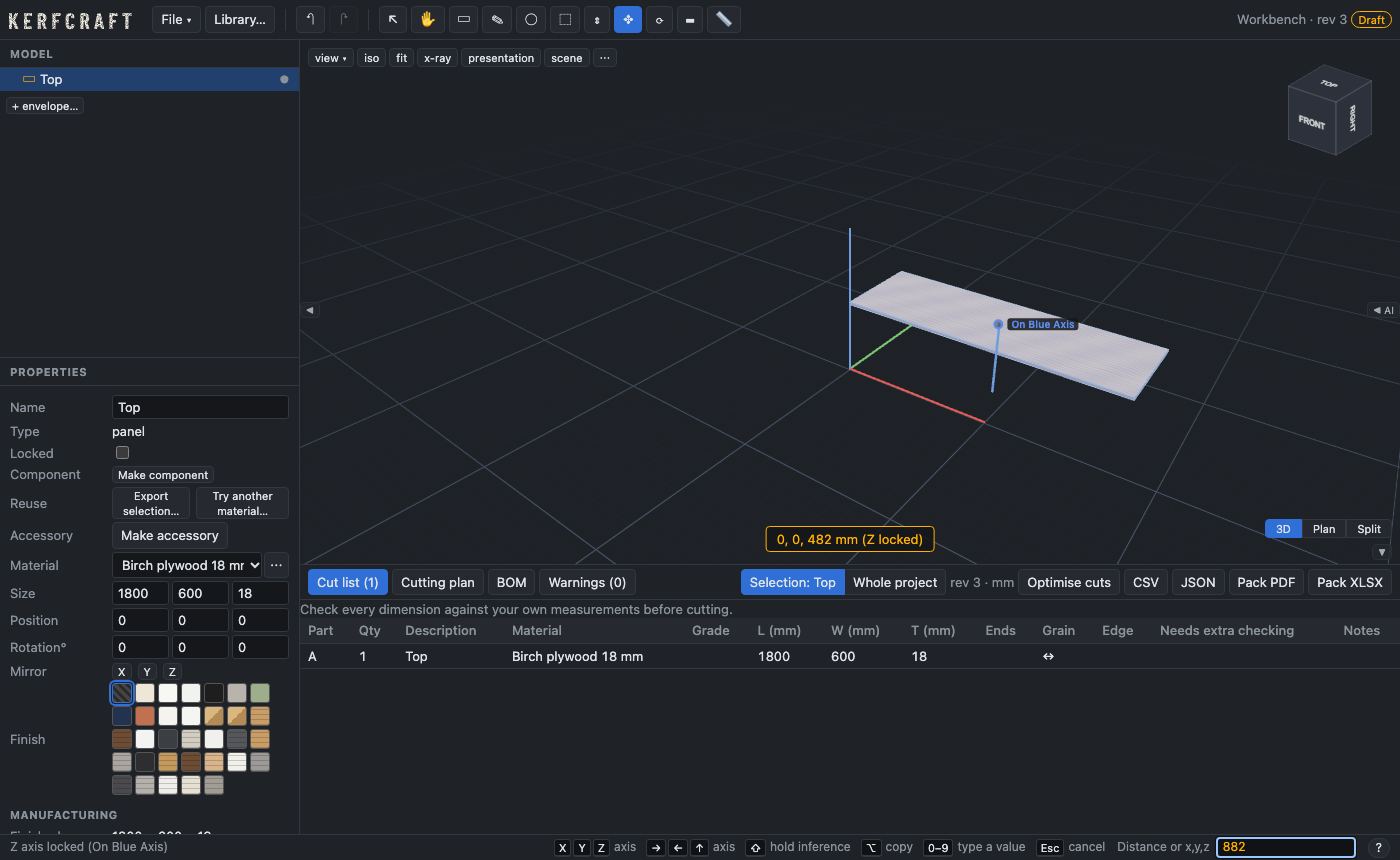
The status bar showed "Z axis locked" before you typed. The top now floats 882 mm above the ground. Press F to fit the view.
Draw a leg with the Timber tool#
The Timber tool draws a timber member between two points. It uses the profile in the status bar, for example C24 regularised KD 45×95.
- Press B to select the Timber tool.
- Click the origin.
- Move the pointer up.
- Press Z to lock to the blue axis.
- Type
882and press Enter.
A leg 882 mm long stands at the origin, below the corner of the top. The line you draw is the centreline of the leg, so the leg is half outside the top.
Move the leg in under the top:
- Press M to select the Move tool.
- Click the leg.
- Type
50,50,0and press Enter.
Three numbers are an exact X, Y and Z offset. The leg moves 50 mm along X and 50 mm along Y.
Copy the leg in an array#
- With the Move tool, click the leg.
- Press Alt to start a copy. On a Mac, press ⌥.
- Move the pointer to the right, along the red axis.
- Press X to lock to the red axis.
- Type
850and press Enter. - Type
x2and press Enter.
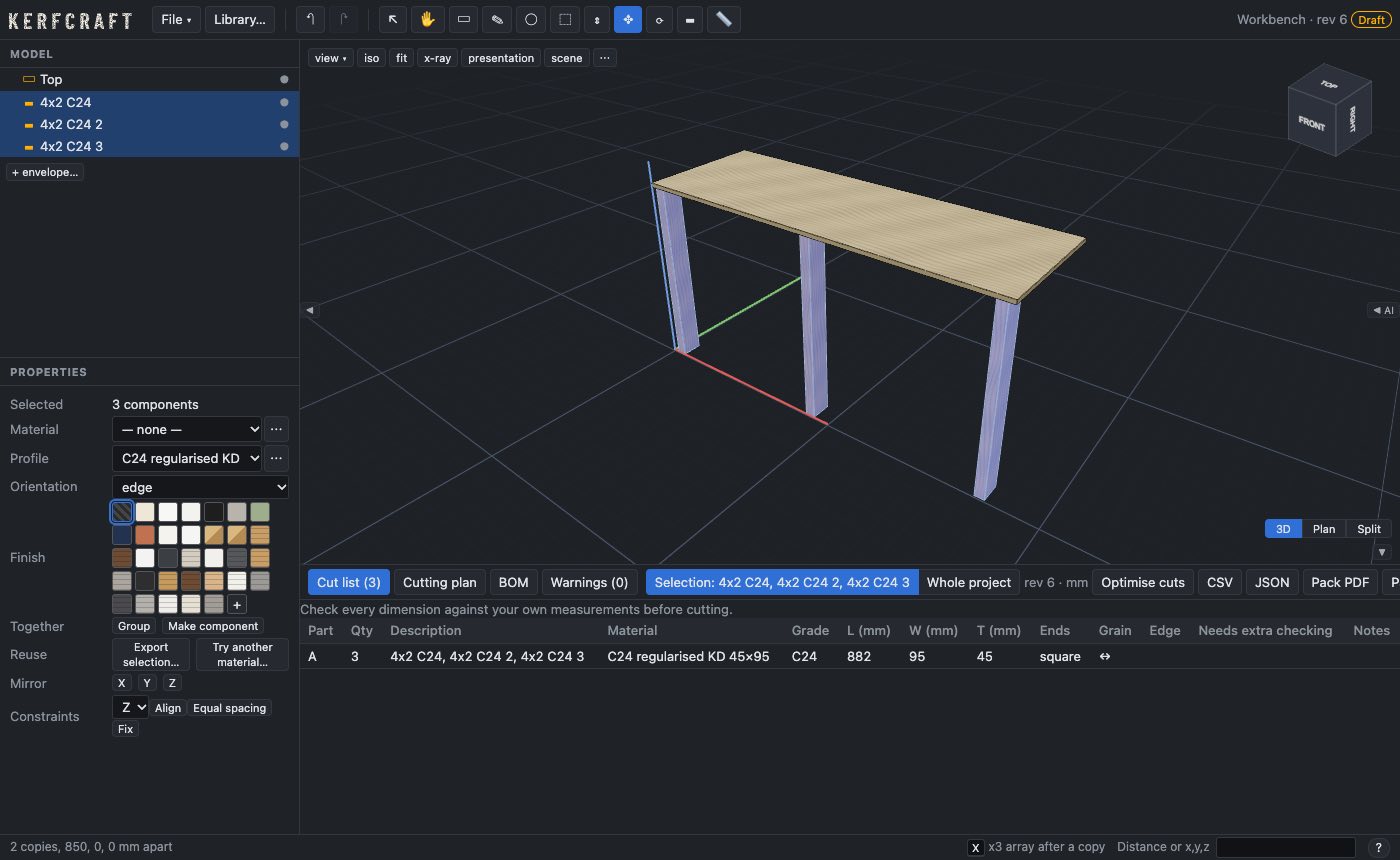
The status bar shows "2 copies, 850, 0, 0 mm apart". There are now three legs along the front: at each end and in the middle.
Copy the legs to the back#
After the array, KerfCraft selects all three legs: the first leg and the two copies. The Move tool is still active.
- Click one of the selected legs.
- Press Alt (on a Mac, ⌥) to start a copy.
- Move the pointer towards the back, then press Y to lock to the green axis.
- Type
500and press Enter. - Press Space to select the Select tool.
- Press Esc to clear the selection.
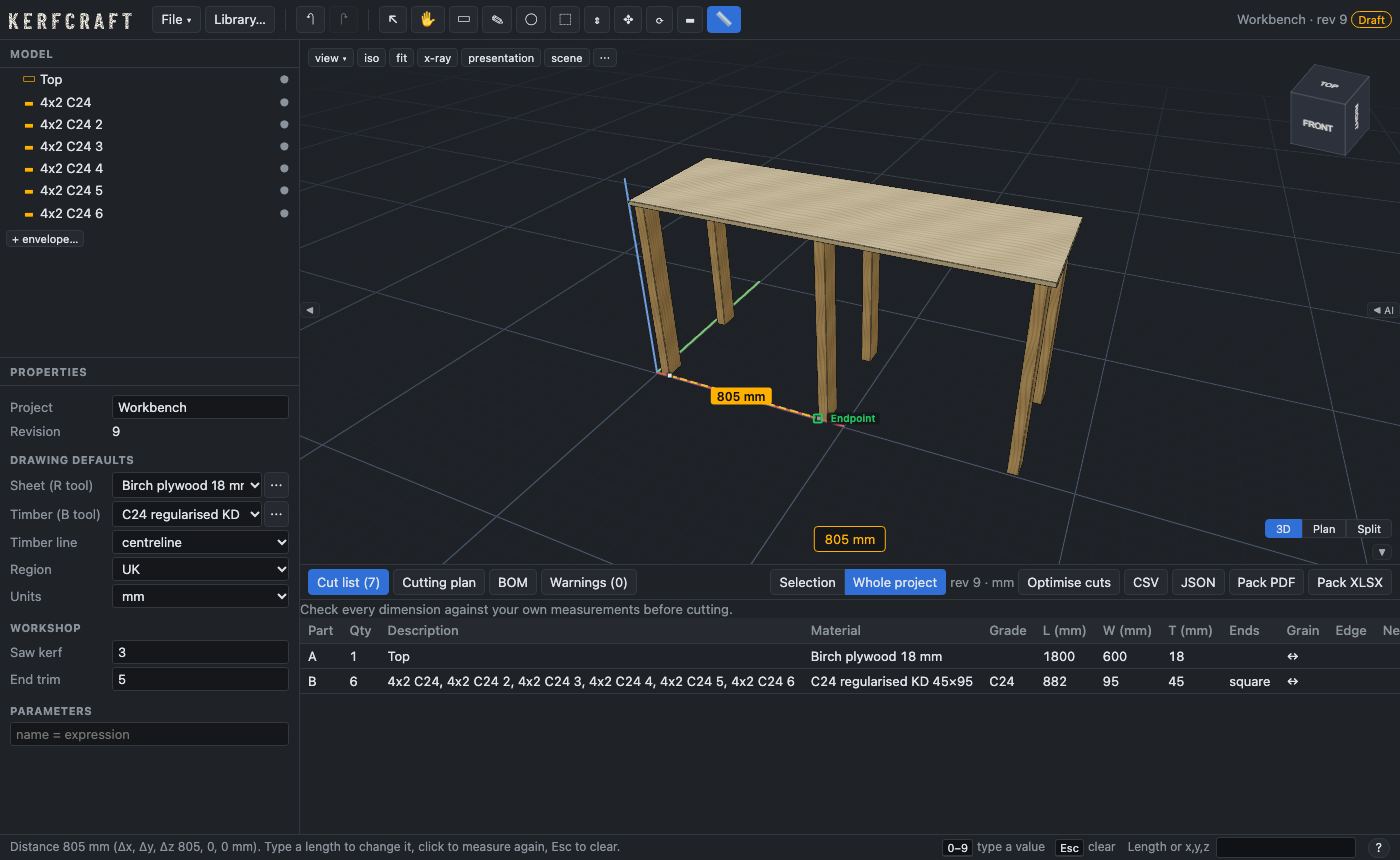
The workbench has six legs. The cut list shows Top and 6 legs of the same length.
Measure with the tape measure#
- Press T to select the Measure tool.
- Click the front bottom corner on the right side of the first leg.
- Click the front bottom corner on the left side of the middle leg.
The tape shows the clear distance between the two legs, 805 mm with 45 mm legs. The status bar also shows Δx, Δy and Δz. Press Esc to clear the tape.
Examine the cut list#
- Click the Cut list tab.
- Read the two rows: the top and the 6 legs.
Check every dimension against your own measurements before cutting. This workbench has no rails or bracing. Before you build a real bench, add the parts that make it stiff.
What you learned#
- You type sizes in the measurements box while a tool is active.
- X, Y and Z lock a movement to one axis.
- Alt (⌥ on a Mac) copies with the Move tool, and
x2after a copy makes an array. - The tape measure shows distances between points on the model.
Next, put furniture in a room in Put a wardrobe in a room. For every tool key, see Keyboard shortcuts.