DOCS / TUTORIALS
Put a wardrobe in a room
In this tutorial, you make a bedroom, make it wider in the plan view and put a wardrobe against the back wall. Then you give the room colours, walk through it at eye level and save a picture of it.
You need about 15 minutes. Do Your first bookcase first.
This tutorial uses the UK region with sizes in mm.
Make the room#
- Click File.
- Move the pointer to New.
- Click Room….
- In Name, type
Bedroom. - Keep the default sizes: 4000 mm wide, 3500 mm long, a 2400 mm ceiling and 100 mm walls.
- Click Create.
- If Region in the Properties panel does not show UK, select UK.
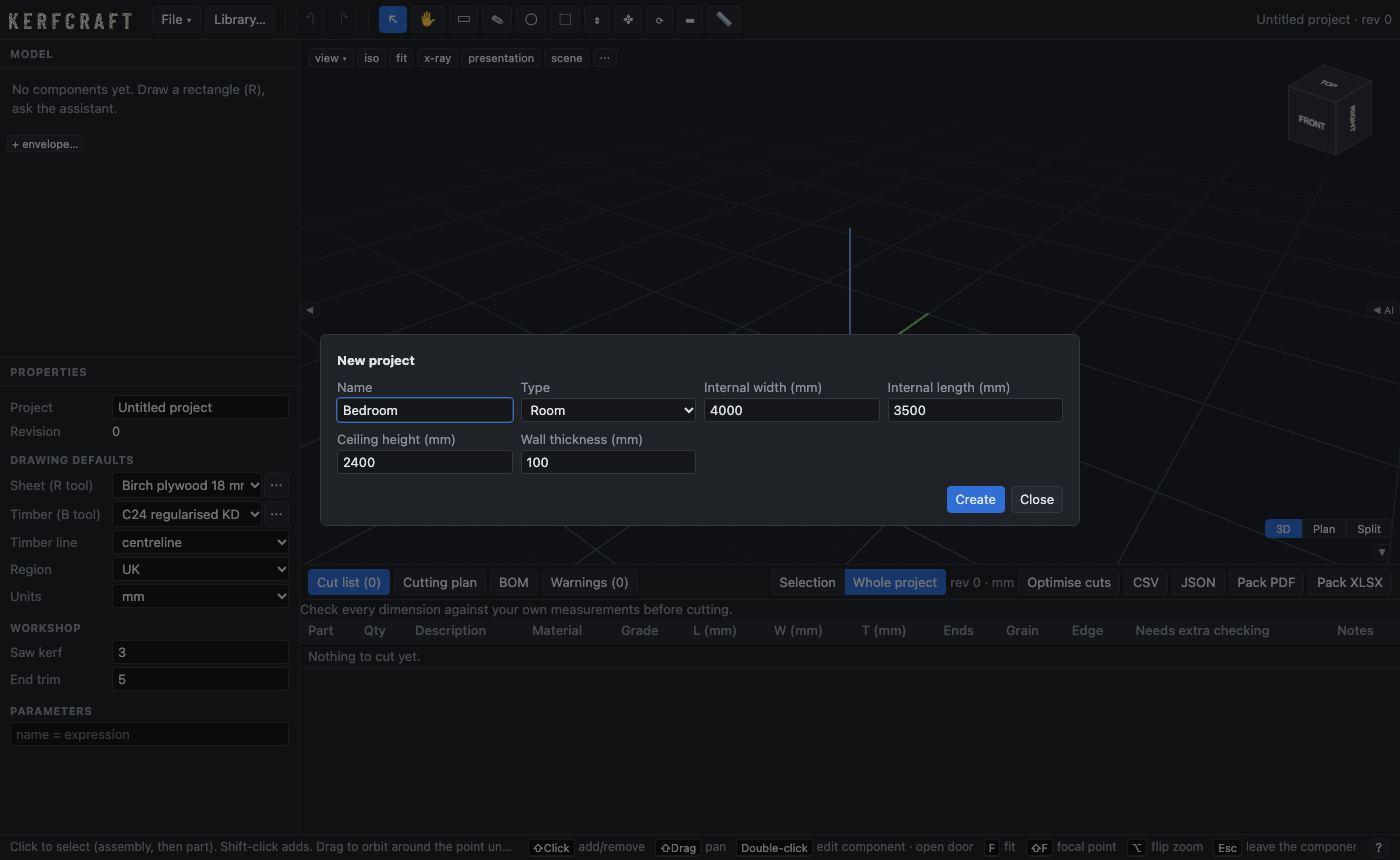
The 3D view shows a room with four walls. The Model panel shows Bedroom. Click ▸ next to Bedroom to see its floor, ceiling and walls, for example North wall (back).
Make the room wider in the plan view#
- Click Plan at the bottom right of the view.
- Examine the plan. The dimensions show 4000 and 3500 inside the walls.
- Drag the right wall to the right until the label shows
+500 mm. - Release the mouse button.
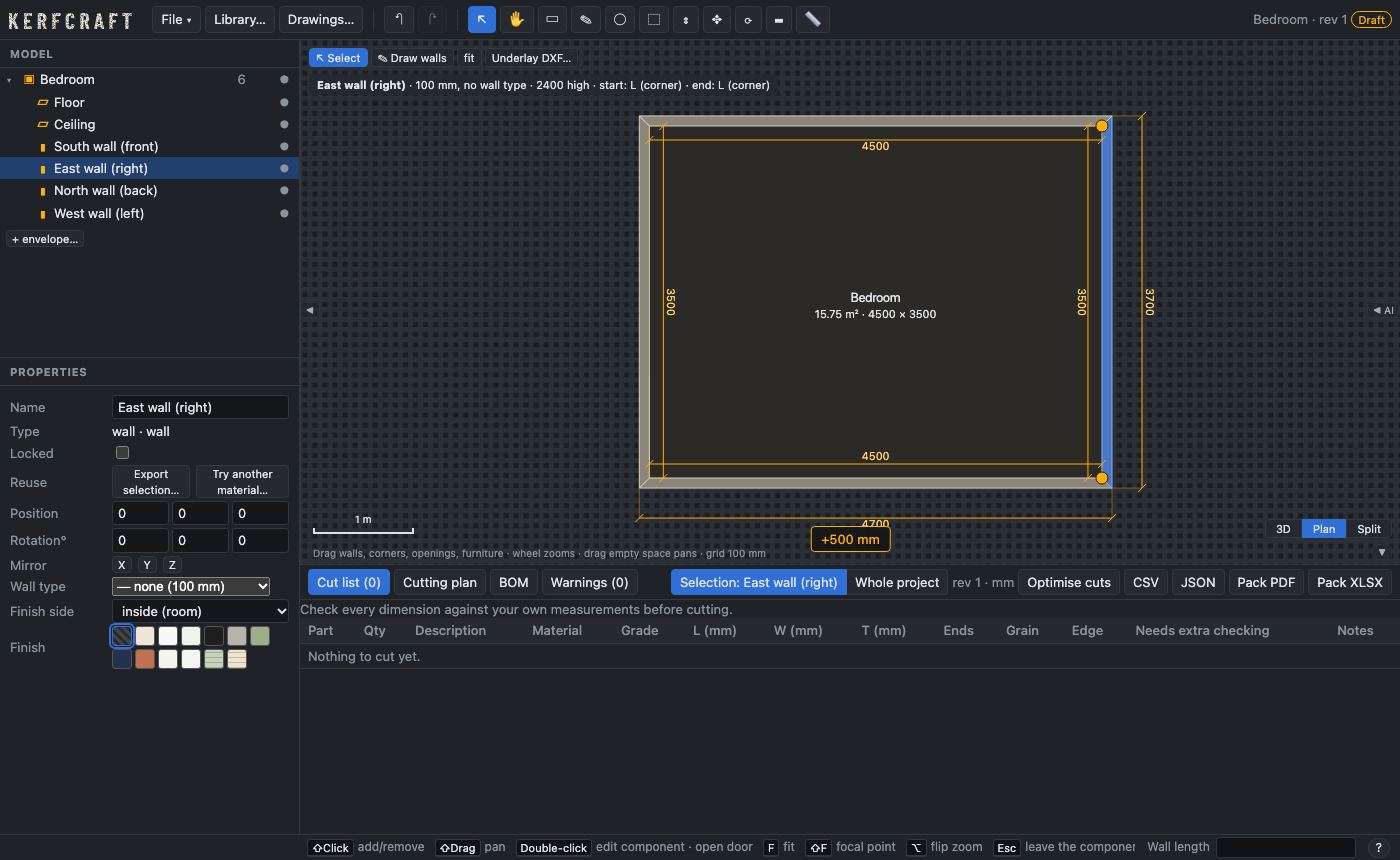
The room is now 4500 × 3500 mm. The drag snaps to the grid, which is 100 mm here. Click a wall to see its name, thickness and height at the top of the plan.
Put a wardrobe against the back wall#
The Library… dialog has wardrobe frames, shelving and kitchen cabinets in standard sizes.
- Click Library… in the toolbar.
- Find PAX-size wardrobe frames.
- Keep the default frame: 100 wide, 58 deep, 236 high, with hinged doors and 2 shelves.
- Click Insert frame.
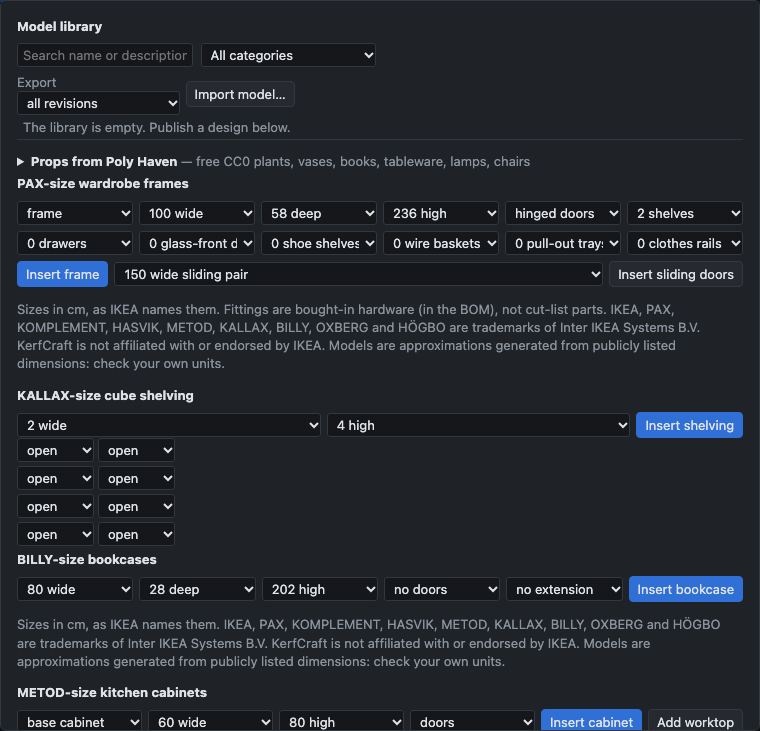
The dialog closes. The wardrobe stands against the North wall (back), in the left corner. The status bar shows "Inserted PAX-size frame 100×58×236", and the wardrobe parts are in the cut list.
These frames are approximations from published sizes. Every row in the cut list has a reason in Needs extra checking. Check each part against your own measurements before cutting.
Apply finishes#
Finishes change how the model looks. They do not change the cut list.
- Click 3D at the bottom right of the view.
- Click PAX-size frame 100×58×236 in the Model panel.
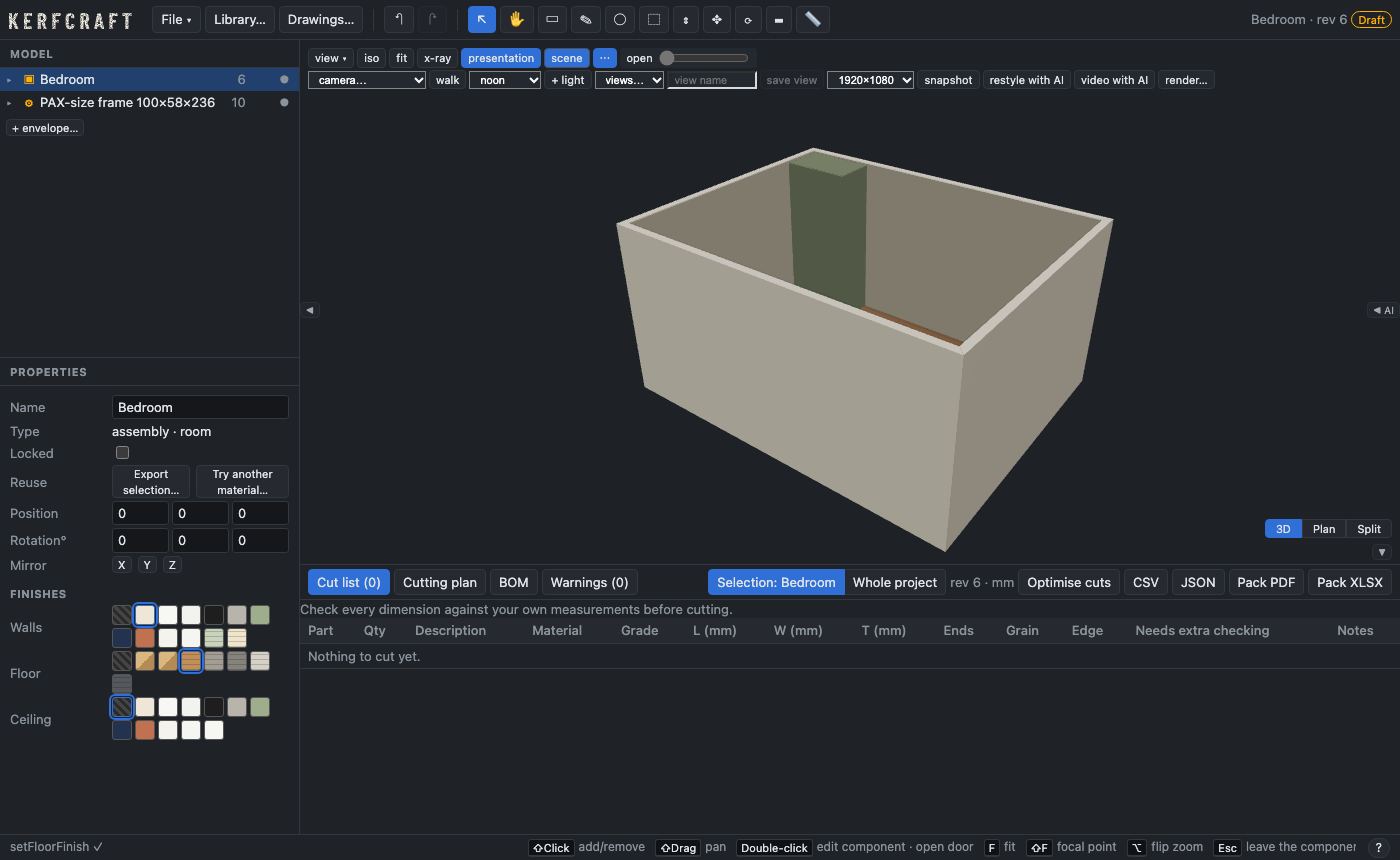
- In Finish in the Properties panel, click the swatch Sage green (matt). Hover over a swatch to see its name.
- Click Bedroom in the Model panel.
- In Finishes, click Warm off-white (matt) in the Walls row.
- Click Oak boards in the Floor row.
The wardrobe is green, the walls are off-white and the floor has oak boards.
Walk through the room#
- Click Presentation above the view. The grid and the outlines go away.
- Click Scene. A second row of buttons opens.
- Click Walk.
The room has no door, so you start at the East wall (right), the wall farthest from the wardrobe. Your eye height is 1600 mm, and you look at the wardrobe.
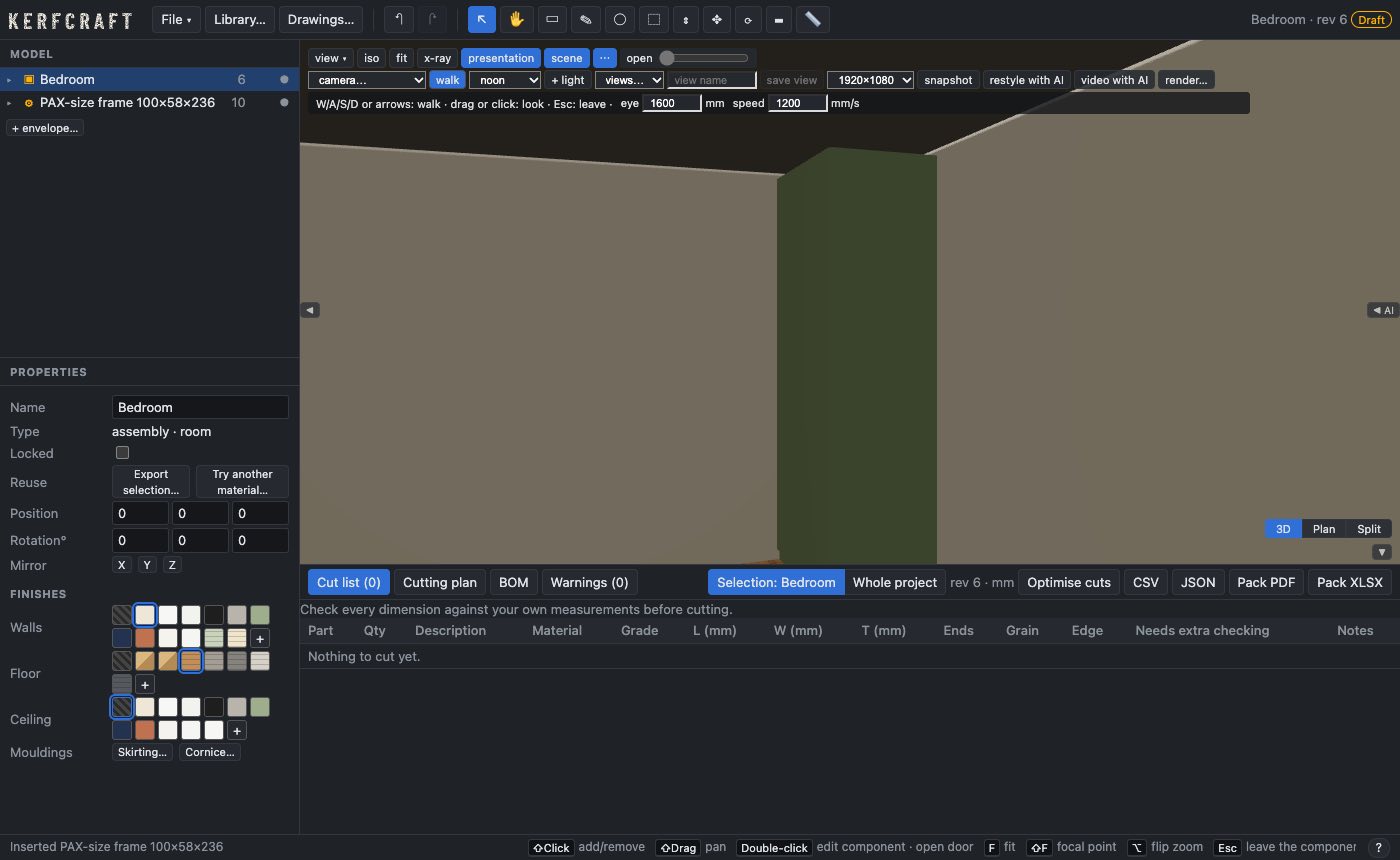
W, A, S and D, or the arrow keys, move you. Drag to look around. Esc stops the walkthrough.
Take a snapshot#
- Press Esc to stop the walkthrough.
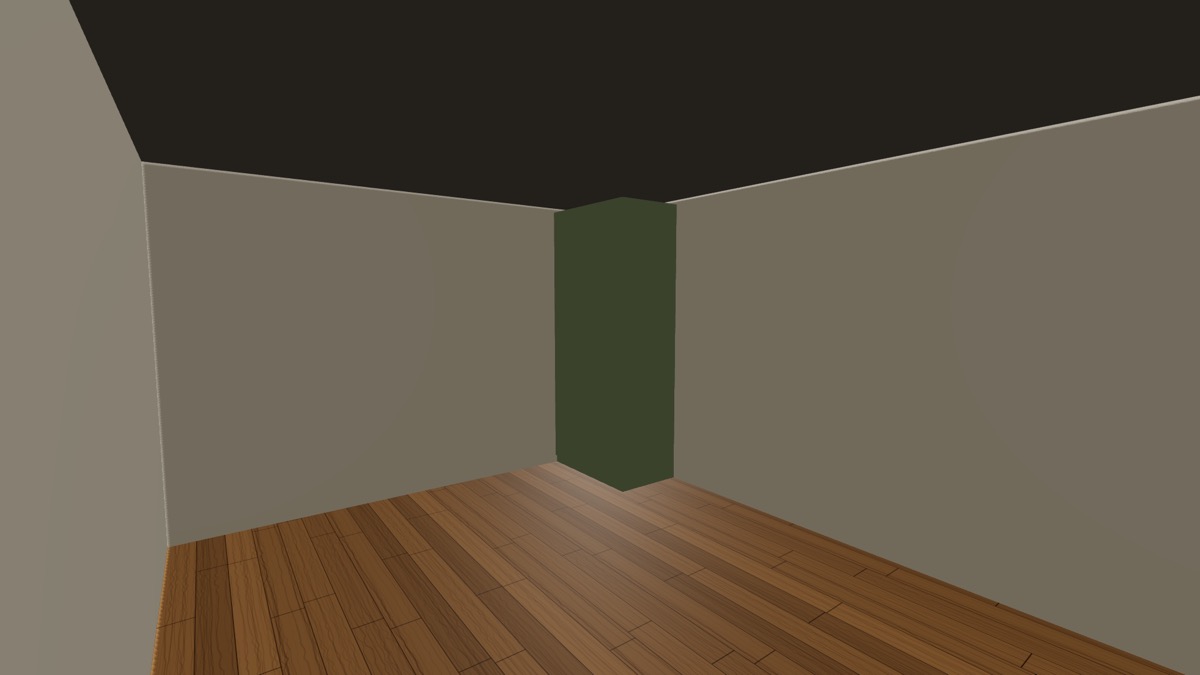
- In Camera…, select south-east corner.
- Click Snapshot.
Your browser downloads a 1920 × 1080 PNG file with a name like Bedroom-rev6-1920x1080.png. To change the size, select a different size next to Snapshot first.
Save the project#
- Click File.
- Click Save….
- Click Save.
What you learned#
- A room project starts with walls, a floor and a ceiling.
- You change walls by dragging them in the plan view.
- Library… places wardrobe frames against the back wall of the room.
- Finishes change only how the model looks.
- Scene has the walkthrough, the camera positions and the snapshot.
Next, let the assistant do the drawing in Design with the assistant.