DOCS / HOW-TO GUIDES / FURNITURE
Cut dovetails
Some steps: AI creditThe host gets the pins and the part gets the tails. For a drawer, the front is the host and the side is the part.
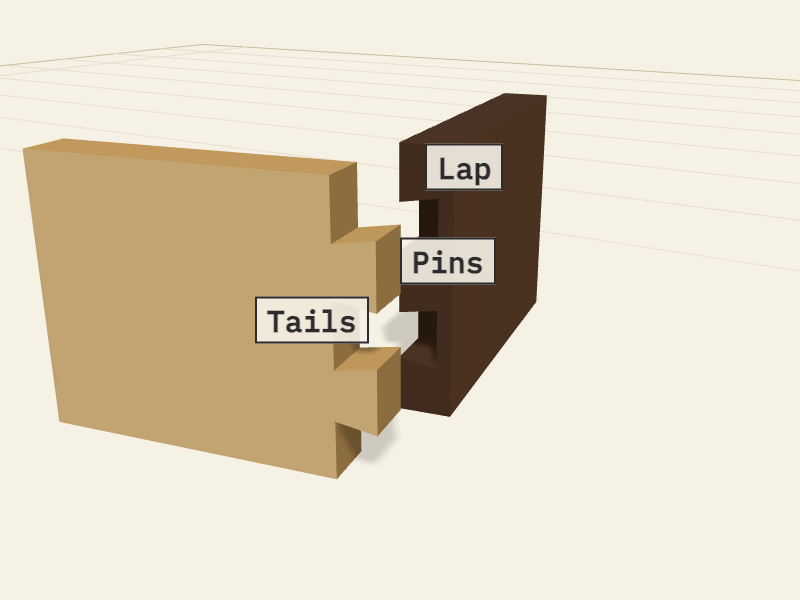
For the drawers of the bookcase, you do not add the joints one by one. Select the bookcase. In All settings of the Layout section, set Drawer box corners to Dovetail. See Carcass parameters. The steps below are for a drawer that you drew.
Put the parts in position#
For a Through dovetail or a Half-blind dovetail, the two parts make a corner:
- Put the end of the side against the back face of the front.
- Move the side so that its outside face is flush with the end of the front.
For a Sliding dovetail, put the end of the shelf against a face of the side, away from its ends.
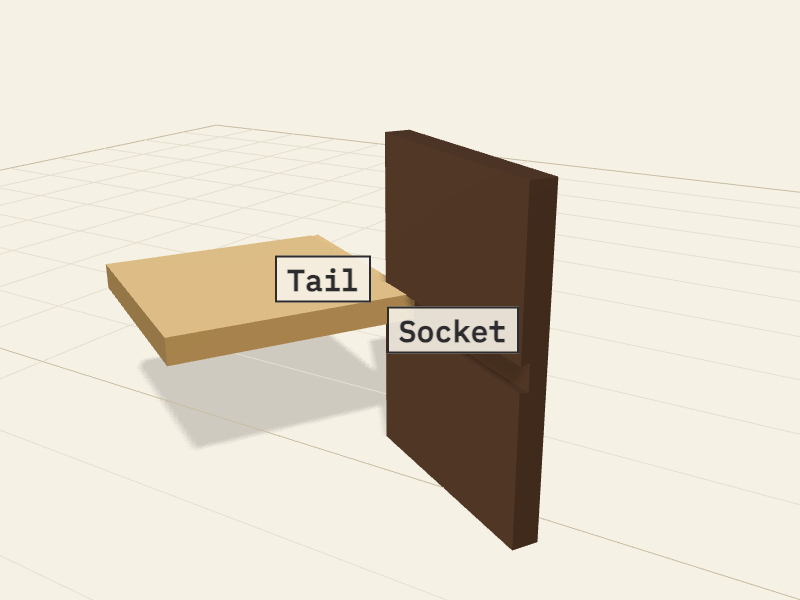
Add the dovetail#
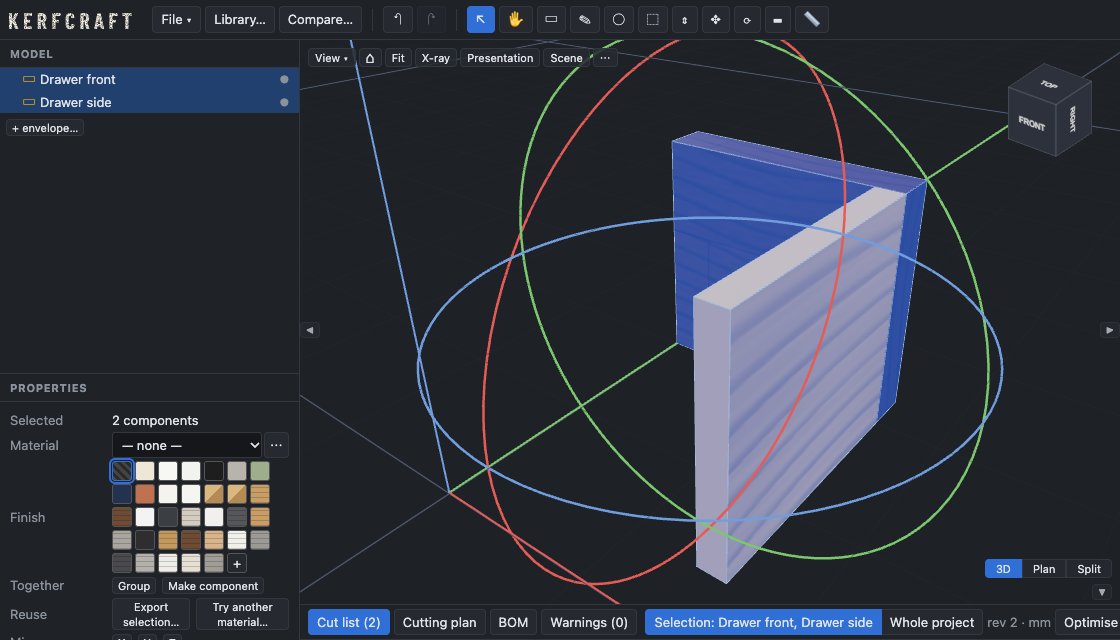
- Click the drawer front.
- Hold Shift and click the drawer side.
- Right-click one of the parts, and click Add joint….
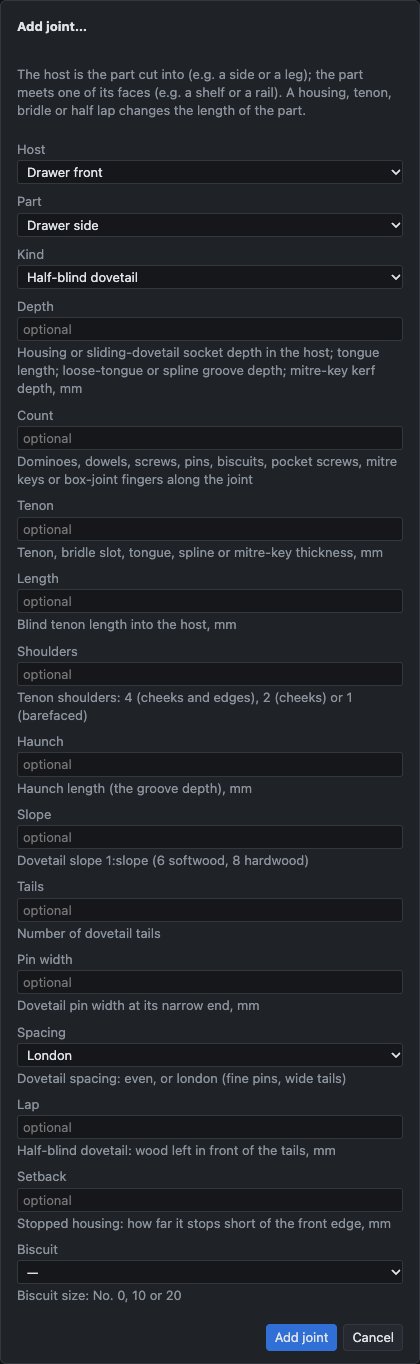
- At Host, select the drawer front. At Part, select the drawer side.
- At Kind, select the dovetail.
- At Spacing, select Even or London.
- Click Add joint.
The side gets longer so that its tails go into the front. A half-blind dovetail stops at the lap, so the outside face of the front stays whole.
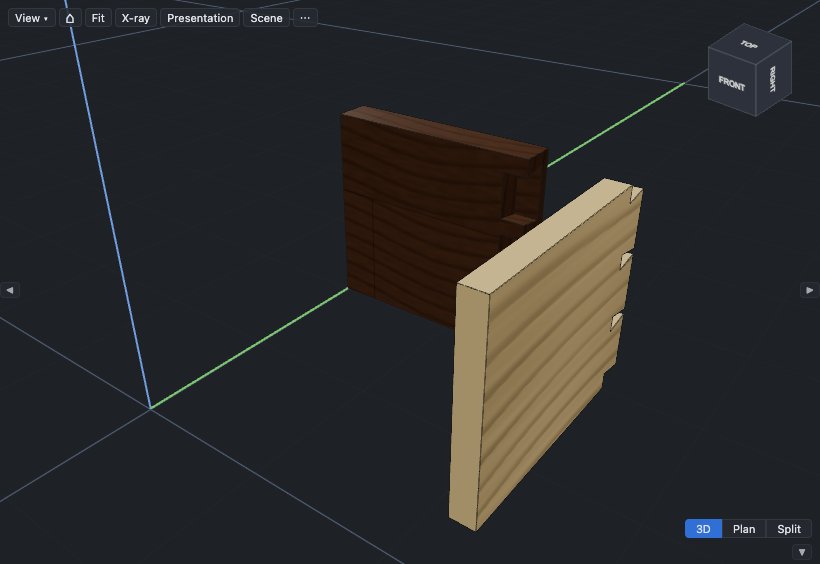
Even spacing is the look of a router jig. London spacing has fine pins and wide tails, which you cut by hand. To set the sizes yourself, type the number of Tails and the Pin width. The pin width is at the narrow end of the pin, on the outside face of the front.
You can also ask the assistant, for example "half-blind dovetail the drawer front to the left side, London pattern".
Choose the slope#
The slope is a ratio. At 1:6, the tail gets 1 mm wider for each 6 mm of its length.
| Slope | Angle | Use it for |
|---|---|---|
| 1:4 | 14° | A half-blind dovetail jig with a 14° bit |
| 1:6 | 9.5° | Softwood |
| 1:7 | 8.1° | When you are not sure |
| 1:8 | 7.1° | Hardwood, for example an oak or walnut drawer |
If you cut with a router, type the slope of your bit at Slope. For a 14° bit, type 4. If you leave Slope empty, the slope comes from the material: 1:6 for softwood, 1:8 for hardwood and 1:7 if the material does not tell.
Set the lap or the depth#
- Lap (half-blind): the wood in front of the tails. The default is ¼ of the front thickness, so 5 mm on an 18 mm front.
- Depth (sliding): the depth of the socket. The default is ⅓ of the host thickness.
Print the marking template#
The workshop pack has a 1:1 marking template for each through or half-blind dovetail.
- In the manufacturing panel, click Pack PDF.
- Find the sheet Dovetail template.
- Print the sheet at 100% (actual size), not "fit to page".
- Measure the 100 mm scale bar. If it is not 100 mm, correct the print settings.
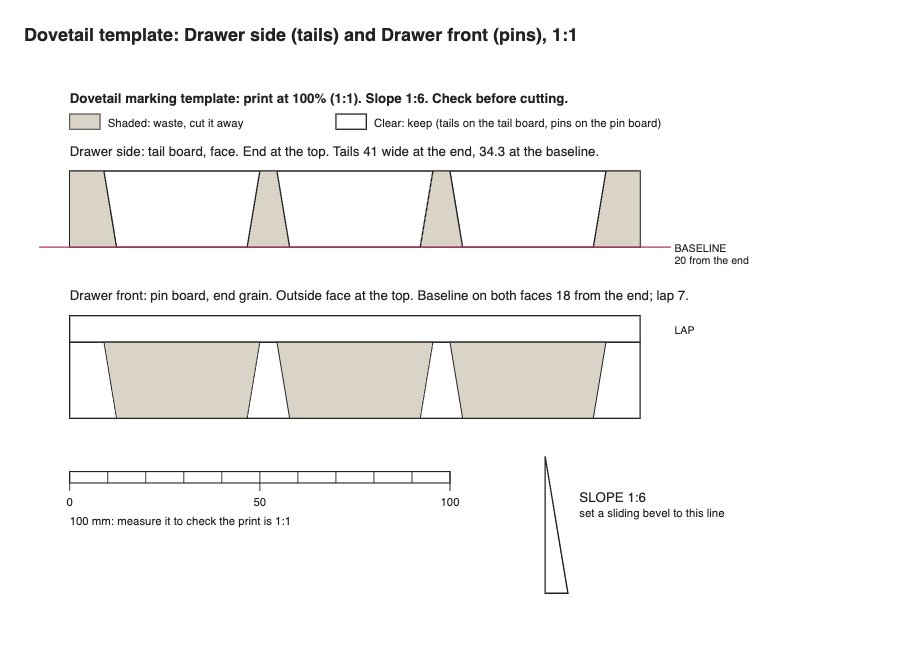
The template shows the tail board face with its baseline, the end grain of the pin board, and a slope gauge for a sliding bevel. If the title says REDUCED, NOT 1:1, the template was too large for A4: do not mark the wood from it. A sliding dovetail has no template, so mark it from the part drawing.
Next: Check a shelf for sag.