DOCS / HOW-TO GUIDES / FURNITURE
Fit a wardrobe under a sloped ceiling
Cut the carcasses to the slope, or keep them square under a fascia that is cut to the ceiling.
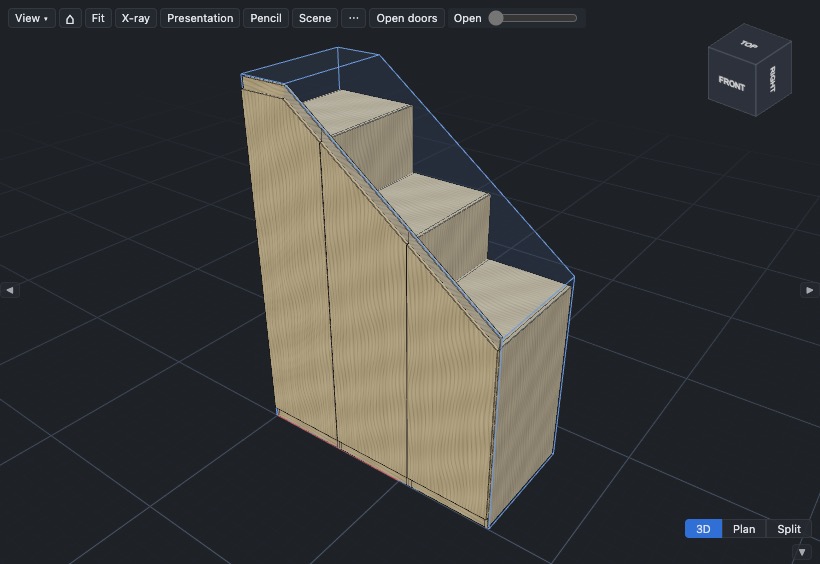
Cut the carcasses to the slope#
In a loft the ceiling is often flat, then sloped. Draw the end wall before you add the wardrobe: x is across from the left wall, z is up.
- In the Model tree, click + envelope….
- Click Profile, and keep Drawn on at front.
- In Profile points, type the corners of the end wall, for example
0,0; 1620,0; 1620,1240; 310,2220; 0,2220. - Type the Depth, for example
745, and click Create. - Select File ▸ Insert furniture ▸ Wardrobe….
- At Fit to a space, select the envelope, and click Insert.
Each box follows its part of the ceiling, 10 mm below it. Under the slope, the top is pocket-screwed to the sides from its underside. At the bend, the two top pieces are butted on a batten, with no joint between them. The box under the bend has a top in two pieces and a bent door and back. Doors under the slope hinge on their high side, so they open clear of the ceiling. A warning shows a door that hits it, with the fix.
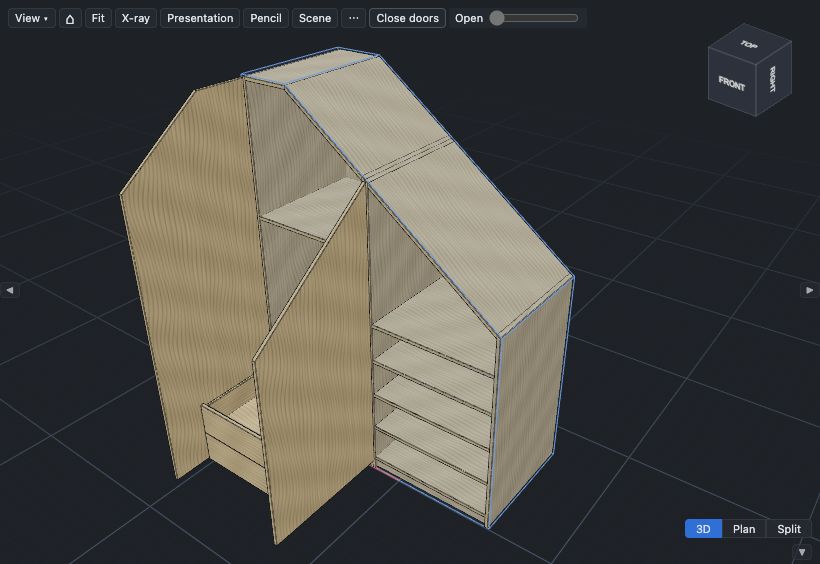
If the ceiling slopes down to the back wall, set Drawn on to side and type the side wall instead. The top then slopes to the back.
Keep the carcasses square under a fascia#
The carcasses stay square and are easier to make. A fascia panel over them is cut to the ceiling, and the doors reach up to it, so the front looks raked.
- Select the wardrobe that you fitted to the envelope.
- In Properties, at Envelope, click Fit again….
- At Rake by, select Square carcasses under a fascia, and click Fit.
Each box is square, 60 mm under the lowest point of the ceiling over it. To change this height, go to All settings, then Fit, then Ceiling fascia: height at the lowest point. The fascia goes on the box tops, and its top edge is scribed to the ceiling. Each door in the top row reaches up to the fascia line, 60 mm under the ceiling, and is cut to it. Its hinges stay on the carcass side. A check tells you where the top hinge goes.
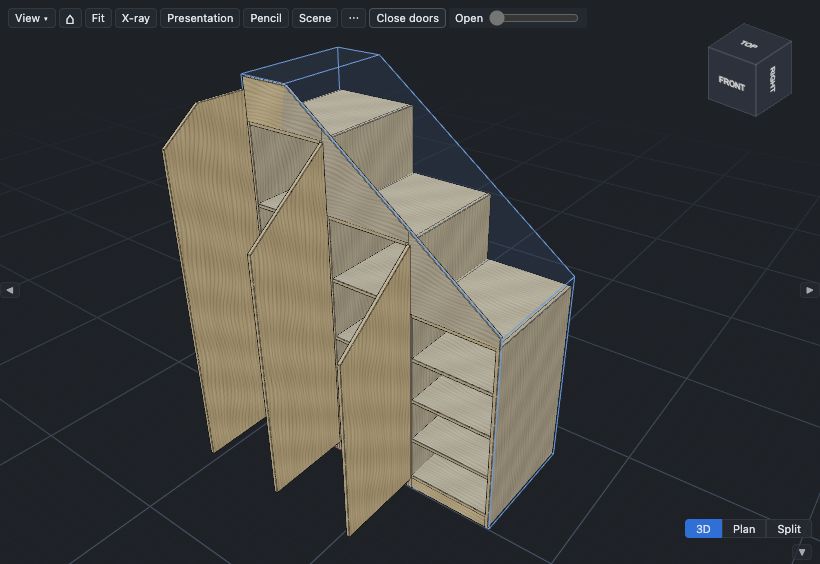
To make one door oversize, select its cell and click Contents…. At Door reaches past the cell, type the millimetres: top, bottom (over the plinth), left or right (over a scribe filler). A warning shows a door that reaches over another front, goes too near the floor, or reaches past its cell on the hinge side. Each warning has a fix.
Next: Fit a carcass into an alcove.